Summary
Lemmy is one of Fediverse implementations, which focuses on link aggregators. It also works as a platform for forums and microblogging.
On technical aspects, used are Rust Actix Web, an actor-model web framework good at concurrency, and InfernoJS, a blazingly fast client framework inspired by React. Therefore, it runs comfortably fast.
This post shows how to install Lemmy and configure it on OpenBSD, a solid operating system. As to Rust’s platform support, OpenBSD stands in Tier 3, the lowest in Target Tier Policy, and, however, it works !!
Environment
- OS: OpenBSD 7.2
- Database: PostgreSQL 14.5 (released on Aug 11, 2022)
- Object Storage: MinIO - AWS S3-compatible (Optional)
- Web Server: relayd
- Apps
Tutorial
PostgreSQL
Install PostgreSQL server and configure it (if undone)
This post should help.
Create database
Start psql:
$ psql -U <your-postgres-user>
Run to create role:
create user lemmy with encrypted password '(...)';
The output was:
CREATE ROLE
Then run to create database belonging to the role:
create database lemmy with owner lemmy \
    ENCODING 'UTF-8' template template0 LC_COLLATE 'C' LC_CTYPE 'C';
The output was:
CREATE DATABASE
MinIO (Optional)
This post and its series may help.
Prepare Lemmy project
Suppose directories will be created as below:
/var
+-- /lemmy
    +-- /lemmy
    +-- /lemmy-ui
    +-- /pict-rs
Prepare Rust packages
$ doas pkg_add rust
The output was:
quirks-6.42 signed on 2023-01-13T18:22:41Z
rust-1.63.0p0:libssh2-1.10.0p0: ok
rust-1.63.0p0: ok
Add a Lemmy user
Run:
$ doas useradd -d /var/lemmy -m _lemmy
Then act as the user:
$ doas su - _lemmy
The login shell is perhaps ksh.
You must be in the home directory:
$ pwd
/var/lemmy
Lemmy server
This part is long so separated to another post. The following two are, too.
Go to this post and then return.
Lemmy-UI server
Go to this post and return.
pict-rs server
Go to this post and return.
Build network
The servers are ready !! Switch back to your own user (by executing exit).
Here is the final network archtecture in this post.
All of Lemmy familly listen to lo, the internal network, only.
relayd handles request/response between the external and the internal, including WebSocket Lemmy-UI uses.
[external] <--> [internal]
                 relayd  <--> lemmy
                         <--> lemmy-ui
                              (websocket included)
                         <--> pict-rs
Be slightly careful about permissions of rc.d scripts.
Lemmy (server)
Create:
$ doas nvim /etc/rc.d/lemmy
to write in it:
#!/bin/ksh

daemon="target/release/lemmy_server"
daemon_user="_lemmy"

daemon_execdir="/var/lemmy/lemmy"

. /etc/rc.d/rc.subr

rc_cmd $1
Lemmy-UI
Create:
$ doas nvim /etc/rc.d/lemmy_ui
to write in it:
#!/bin/ksh

daemon="env LEMMY_UI_HOST=127.0.0.1:1234 LEMMY_INTERNAL_HOST=127.0.0.1:8536 LEMMY_EXTERNAL_HOST=<your-fqdb>:8536 LEMMY_WS_HOST=<your-fqdn>:443 node"
daemon_user="_lemmy"
daemon_flags="dist/js/server.js"

daemon_execdir="/var/lemmy/lemmy-ui"

. /etc/rc.d/rc.subr

rc_cmd $1
pict-rs
Create:
$ doas nvim /etc/rc.d/lemmy_pict_rs
to write in it:
#!/bin/ksh

daemon="target/release/pict-rs"
daemon_user="_lemmy"
daemon_flags="-c pict-rs.toml"

daemon_execdir="/var/lemmy/pict-rs"

. /etc/rc.d/rc.subr

rc_cmd $1
relayd.conf
Configuration about httpd is optional.
When you have other services in the same machine, you may have to do manage them.
# $OpenBSD: relayd.conf,v 1.5 2018/05/06 20:56:55 benno Exp $

# prefork 5

#table <httpd> { "127.0.0.1" }
lemmy_server_port = "8536"
table <lemmy_ui> { "127.0.0.1" }
lemmy_ui_port = "1234"
table <lemmy_server> { "127.0.0.1" }
lemmy_server_port = "8536"

your_fqdn = "<your-fqdn>"

cert_keypair = "<cert-keypair-name>"

http protocol "https-filter" {
	return error

	#match request forward to <httpd>
	match request header "Host" value $your_fqdn forward to <lemmy_ui>
	match request url "<your-fqdn>/api/" forward to <lemmy_server>
	match request url "<your-fqdn>/pictrs/" forward to <lemmy_server>

	http websockets

	tls keypair $cert_keypair
}
relay "https-proxy" {
	listen on egress port https tls

	protocol "https-filter"

	#forward to <httpd> port http check tcp
	forward to <lemmy_ui> port $lemmy_ui_port check tcp
	forward to <lemmy_server> port $lemmy_server_port check tcp
}

http protocol "lemmy-server" {
	http websockets

	tls keypair $cert_keypair
}
relay "lemmy-server" {
	listen on $your_fqdn port $lemmy_server_port tls

	protocol "lemmy-server"

	forward to <lemmy_server> port $lemmy_server_port check tcp
}
Conclusion
Let’s start the servers. Here are command lines to run them temporarily:
$ doas rcctl -f start {lemmy, lemmy_ui, lemmy_pict_rs, relayd}
* Besides, if you want to activate them, run rcctl enable beforehand, and -f option will be unnecessary.
Open your browser and access to <your-fqdn>. You will be welcomed.
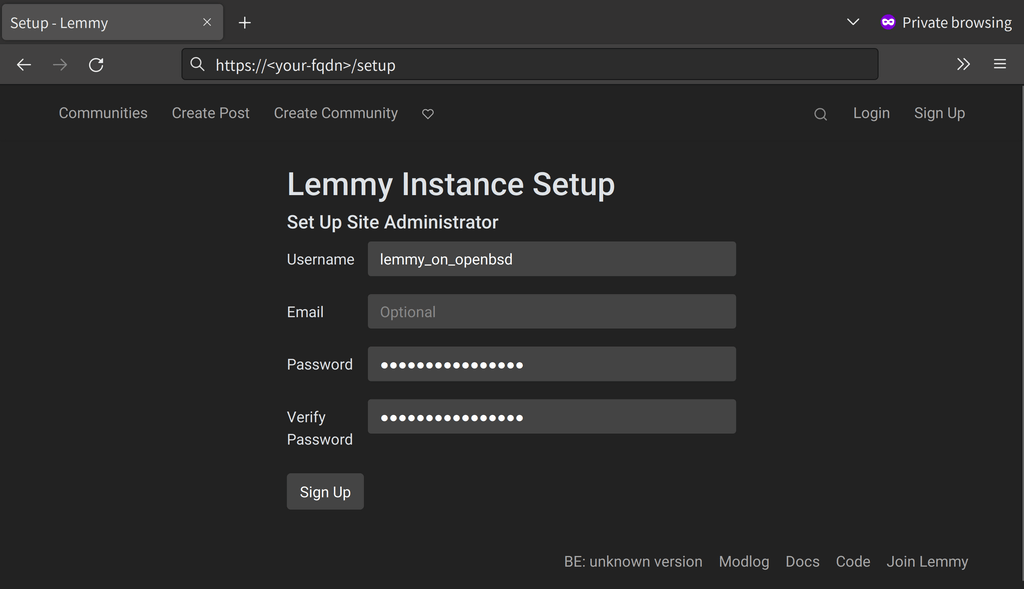
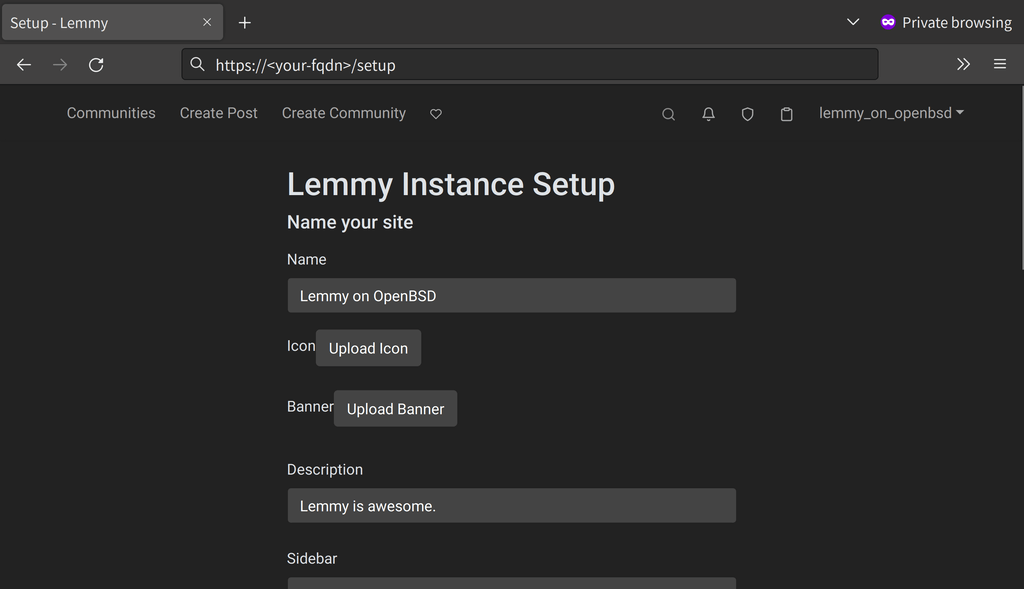
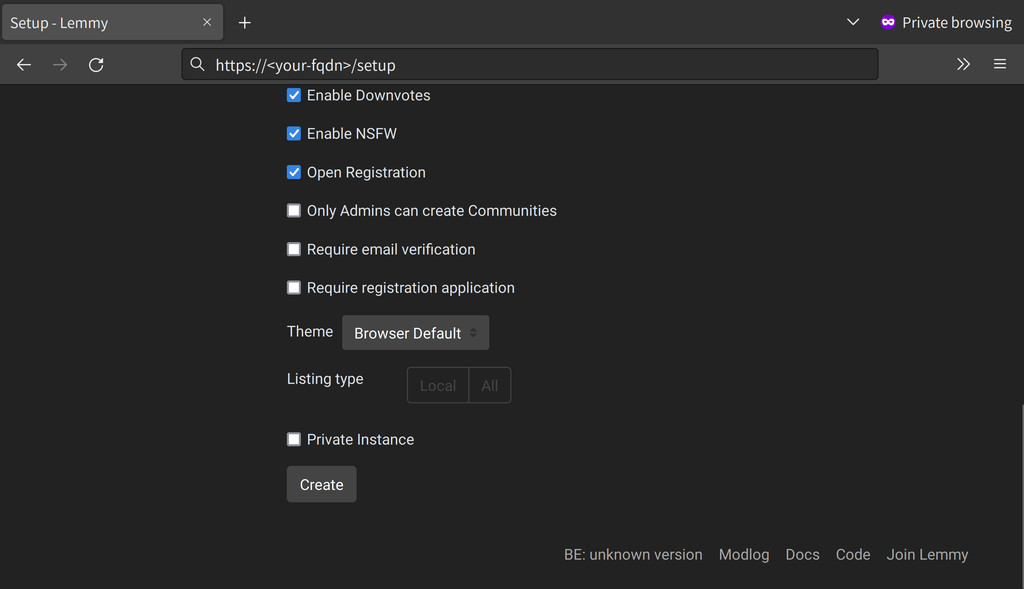
After signing up, you will be guided to create an instance:
Then, voilà :)
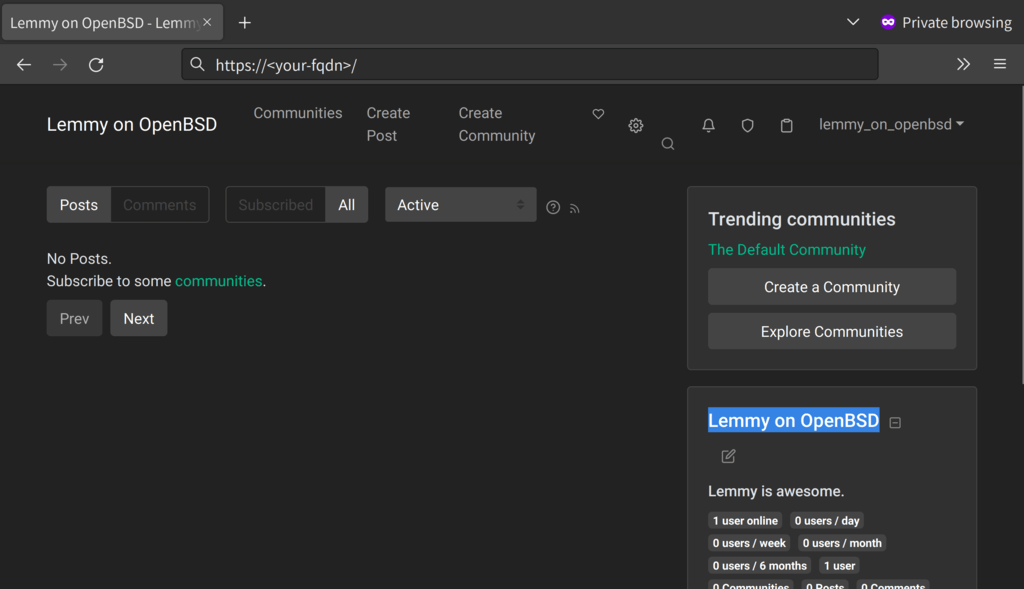
Happy swimming across the fediverse.